# Convert More Shoppers on Your Checkout Page
{% hint style="warning" %}
Checkout testing requires Shopify Plus and an Intelligems Core, Plus, or Blue plan.
{% endhint %}
[Why Run This Test](#why-this-works) | [VIDEO: How to Run This Test](#how-to-build-this-test-in-intelligems) | [Step-by-Step Guide](#step-1-create-your-checkout-test)
## What's a Checkout Trust Badge Test
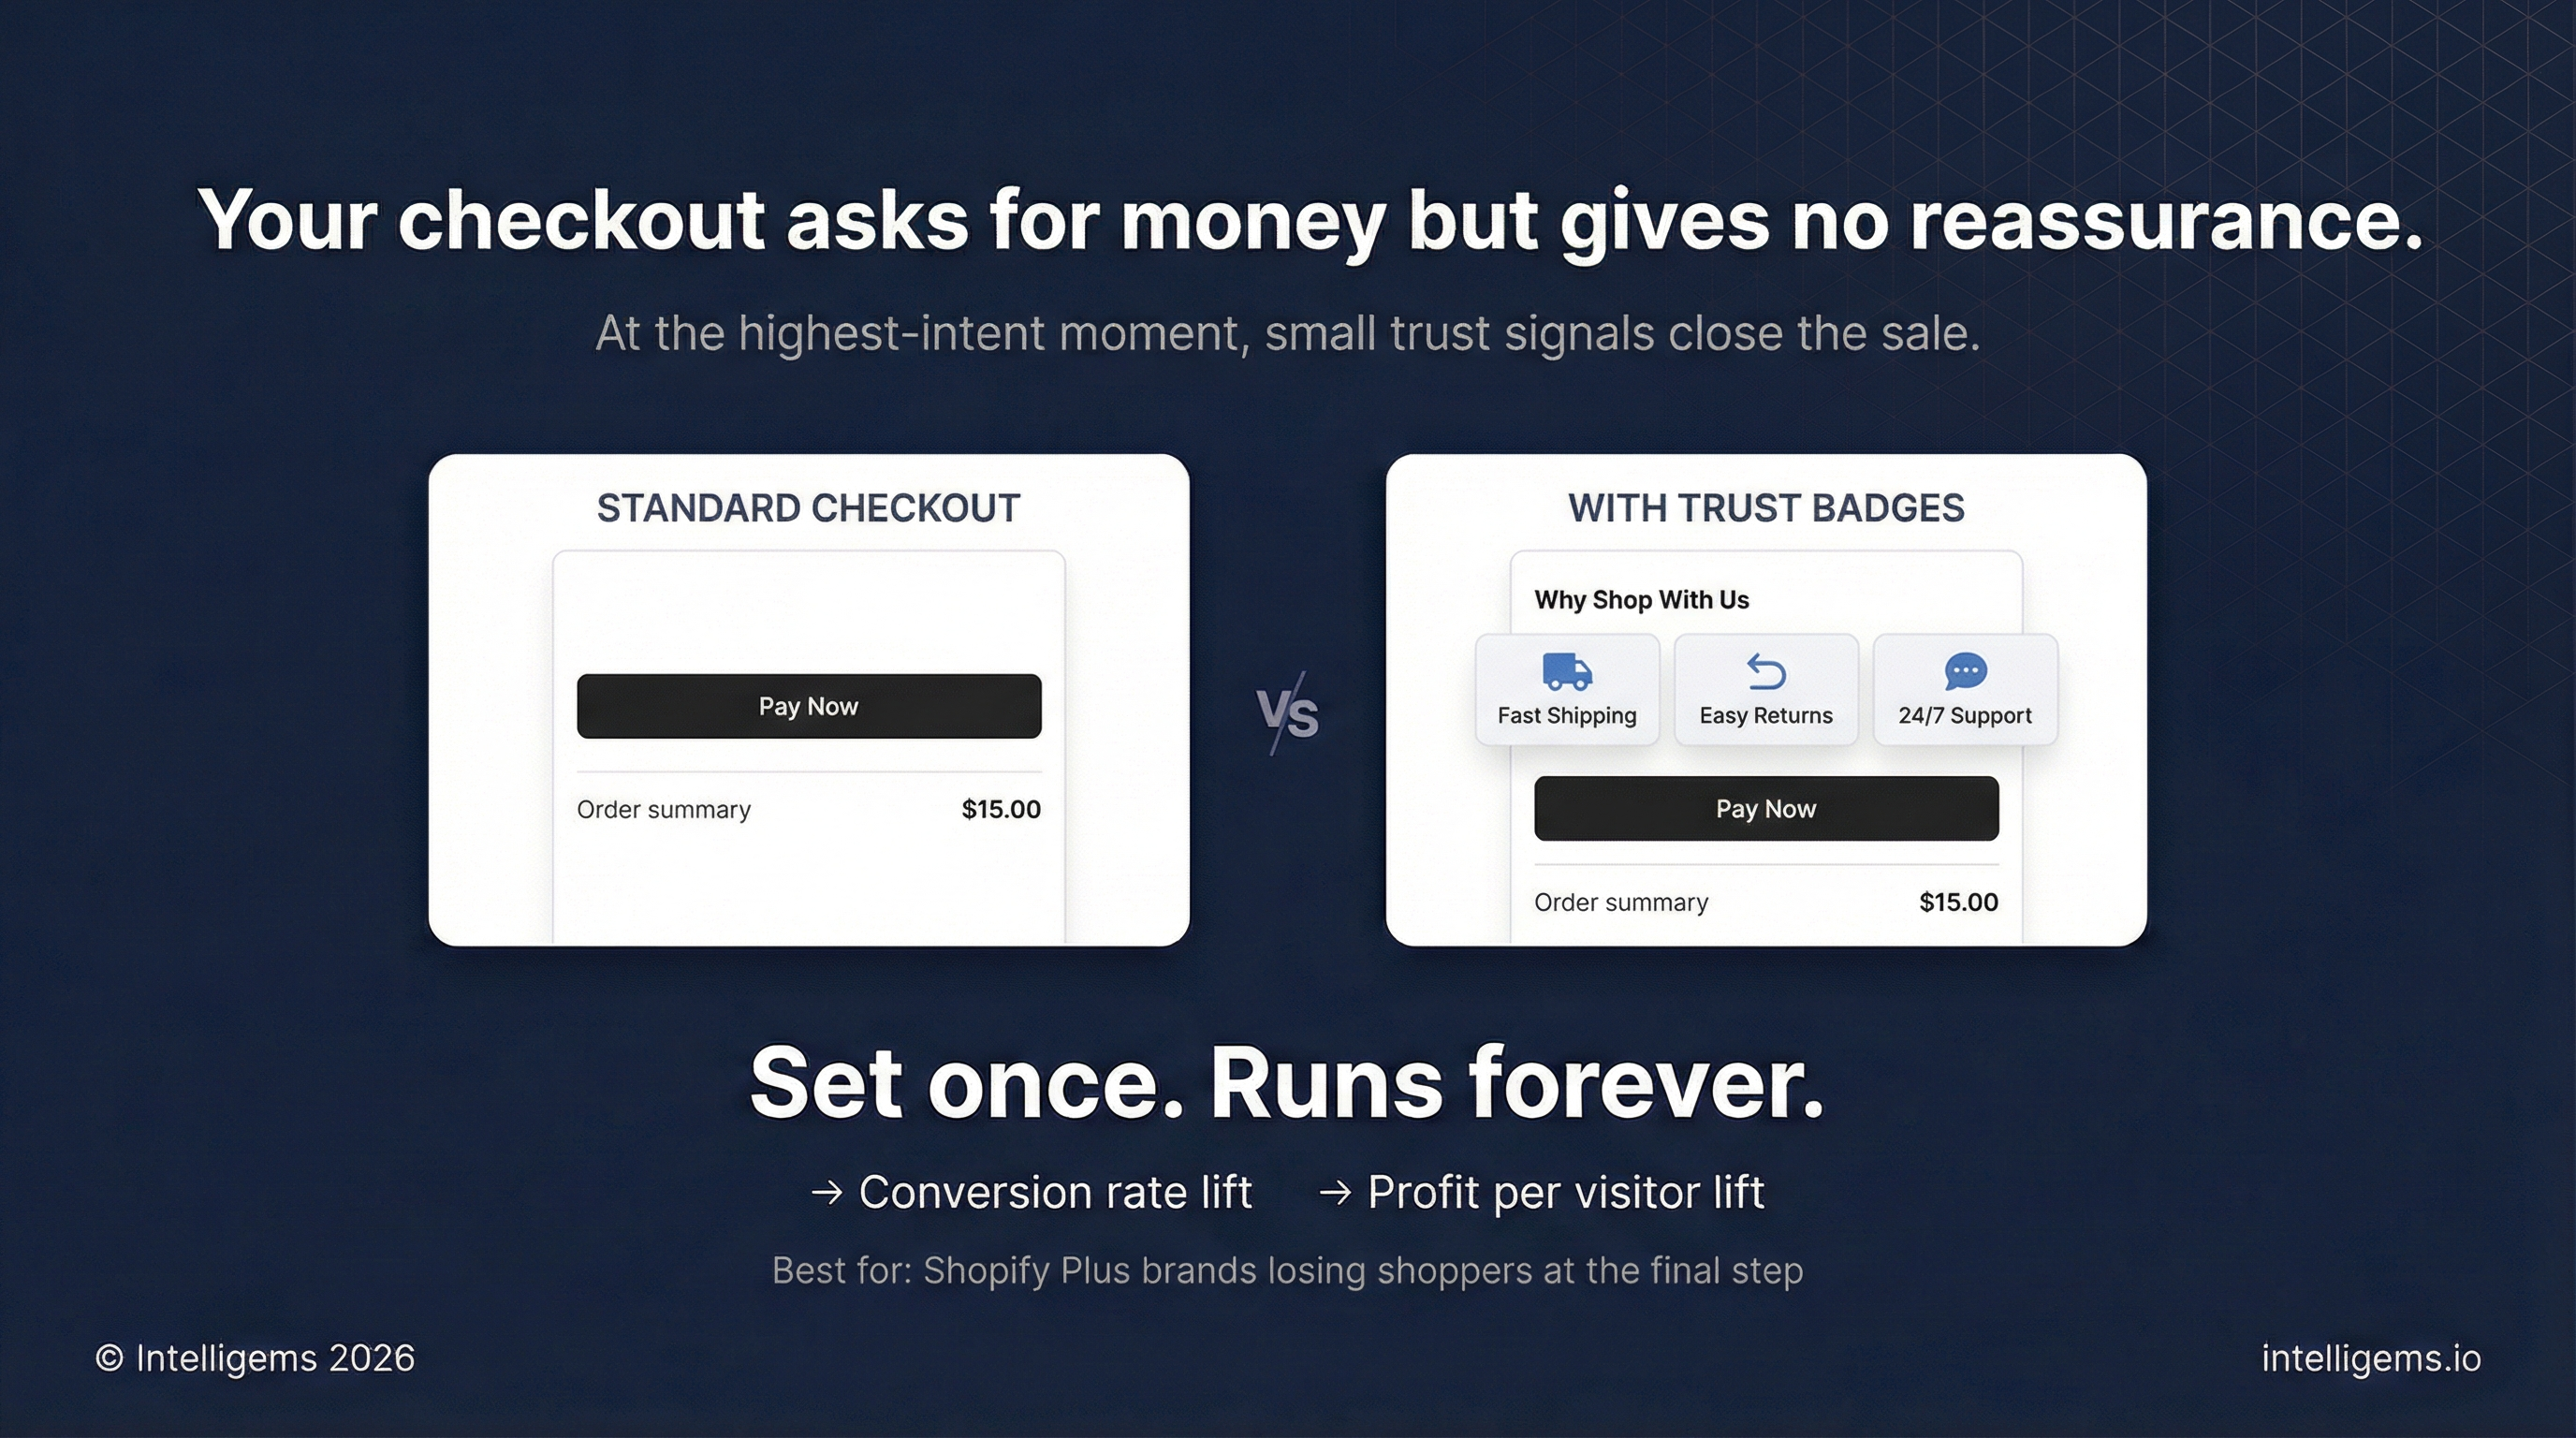
A Checkout Trust Badge Test compares checkout conversion rates between shoppers who see trust badges (highlighting your brand promises like Free Shipping, Free Returns, Lifetime Warranty, and Secure Checkout) versus those who see your standard checkout with no additional trust messaging.
The test compares two groups:
* **Control group**: Standard checkout with no trust badges
* **Test group**: Checkout with trust badge block showing 3 key brand promises
This allows you to quantify whether trust badges at the highest-intent moment reduce checkout abandonment and drive incremental revenue.
## Why This Works
Checkout is the highest-intent stage of the customer journey. Shoppers have already decided they want your product but may hesitate at the final moment due to concerns about shipping costs, return policies, product quality, or payment security.
Small messages of reassurance can drive measurable conversion improvements by helping shoppers feel confident about their purchase and your brand. Trust badges work because they:
* Address common objections (shipping, returns, quality) exactly when they matter most
* Build credibility through visual cues and clear policy statements
* Replace the need for third-party trust badge apps with a native solution
* Provide reassurance without disrupting the checkout flow
## How to Build This Test in Intelligems
{% embed url="" %}
### Step 1: Create Your Checkout Test
1. Go to **Tests → Create Test**
2. Select **Checkout Test**
3. Name your test: "Checkout - 3 badges vs. none"
4. Click **Next**
### Step 2: Name Your Test Groups
1. In the **Test Groups** tab, name the control: "Control - No Trust Badges"
2. Name the test group variant: "Trust Badges"
### Step 3: Add Checkout Content
1. In the **Modifications** tab, click on your Trust Badges test group
2. Click **+ Add checkout**
3. In the **Trust badge** section, select **Badge tiles**
4. Click **Next**
### Step 4: Configure Your Trust Badge Block
1. Add a **Block name**: "Trust Badges"
2. Rename the **Location ID** to be descriptive: "three-trust-badges"
3. Add **Heading text** (optional): "Why Shop With Us" or leave blank
### Step 5: Add Your Badges
Add 3 badges that highlight your strongest brand promises. For each badge:
1. Choose an **Icon** from the library or upload a custom **Image**
2. Add a **Title** (e.g., "Free Shipping", "Lifetime Warranty")
3. Add a **Subtitle** (optional supporting text)
#### **Recommended badge combinations:**
* Free Shipping + Free Returns + Secure Checkout
* Lifetime Warranty + 24/7 Support + Free Returns
* Fast Shipping + Quality Guarantee + 4.8 star rated
**In this example:** Let's do Fast Shipping, Easy Returns, & 24/7 Support
### Step 6: Style the Block
1. Configure these settings:
* **Background** color (typically matches your brand)
* **Padding** around badges
* **Border style** (none, solid, or dashed)
* **Border thickness**
* **Corner radius**
* **Body alignment** (left, center, or right)
* **Rows and Columns** (define your grid layout - we recommend 1 row, 3 columns)
* **Image position** (typically left of text)
2. Click **Confirm Changes**
### Step 7: Add to Shopify Checkout
1. Next, we need to add the blocks to Shopify
2. Click **Complete Shopify setup**, which will open up a modal with the steps to add the location ID to Shopify
3. In Shopify Admin go to **Settings → Checkout**
4. Under **Configurations**, click **Customize** to open the Checkout editor
5. In the left panel, click **Apps**
6. Navigate to **Intelligems**, click **(+)**
7. Paste your block **Location ID** (trust-badges-test) into the block settings
8. Toggle on **Include block in Shop Pay** (recommended)
9. Drag the block into position at checkout (recommend above payment section)
10. Click **Save** in the top right
11. Return to Intelligems app and click **Save**
### Step 8: Configure Test Settings
1. Choose your Audience in the **Targeting** tab. It's default to all visitors.
2. **Preview** your test on mobile and desktop
3. Click **Start Test**
### Step 9: Review results
After your test reaches statistical significance (typically 2-4 weeks depending on traffic), review the **Results** tab and roll out the winner as a **Personalization**.
### How to Measure Impact
* Conversion rate lift
* Revenue per visitor lift
* Profit per visitor lift
{% hint style="info" %}
Use the AI summary or Chat about your results to get deeper with your results
{% endhint %}
#### Roll Out as a Personalization
If the test wins:
1. Click **End Test**
2. Select the winning variant
3. Click **Publish as Personalization**
4. The checkout trust badges content will continue running automatically for all visitors
5. No ongoing maintenance required